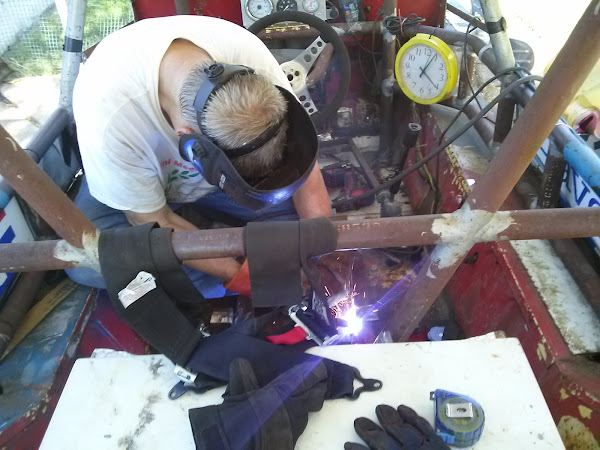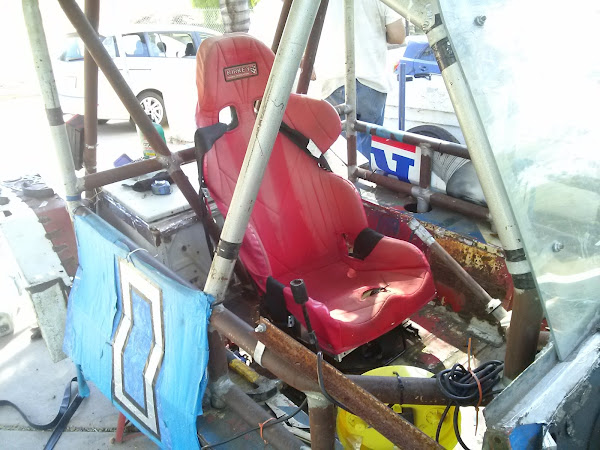
It was a hot weekend - lots of wrenching and sweat on Saturday. We got the better seat in to be more comfortable, some brake work done, had pizza, a few beers, and lots more bull shitting around.

The car was running, the brakes worked, and was basically ready for tech.. but then I decided to start taking the cooling system off the car because Mike/Spank had a better radiator to put on. But, well... I did not get very far, it is only half mounted, and the hoses are not hooked up yet. It won't take much more to get it running again. Hopefully Mike can get more done this week, but we always have Friday night at the track. The theme work has not been started yet on the car either... so there is still that. Speaking of theme work, I finally got started on mine.

It began with me reading up on how to make a mascot costume head and the main parts where a cheap hard hat and stiff insulation foam board.. so I bought the foam insulation board, the hard hat, and opted for duct tape over glue because LeMons. I figured, how hard could it really be?

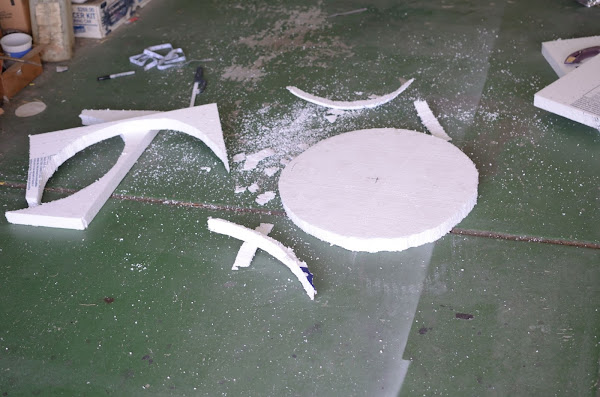
Well I got to work and what a mess.. I did not have the proper tool to cut the foam, which would be an electric hot knife, and used a small hand saw to cut the starting shape. The head of my character is basically big and round.

I knew that the center and widest part of the head needed to be just above my eye level so the hard hat would have to go above it. I cut a hole in the center to fit my head. Following, with absolute detailed precision, I cut some arches to make a frame for the top.

As I started to duct tape the hard hat in place, I thought it would be smart to use some stick shaped objects to hold things in place better.. really not needed but figured, this shit is serious so might as well. It all was then cleanly secured with duct tape.


With the top frame complete, I cut out some more pieces for the bottom and also, with my amazing handy work, securely attached them. Now the frame was done. Mind you this was hours later in humid hot weather, I believed getting to this point would only be 30-45mins.. haha no.


Using the high quality materials at my disposal, whatever scrap was laying around in my father's garage and some more duct tape, the top of the head took form. Things were coming along so nicely, I was in awe of my artistic abilities. (At this point, my back hurt and I was sweating and needed a beer. It was a Lagunitas IPA, which was damn good too. There went 15mins.)

Once stuffed, it was sealed up using exactly measured and placed strips of duct tape.. just look at it.. are you impressed yet? I had to give it a test ride to see how it would work..

Totally freaking rad, am I right? Damn I'm sexy... It takes time and effort to achieve such greatness, but of course it is not complete. The details of the face must be applied and are to be finished over the next few nights after work. To see the costume completed, you will have to check back next week as this is my last post until after the race. Only a few days left!
For now, it's back to the cubicle
No comments:
Post a Comment